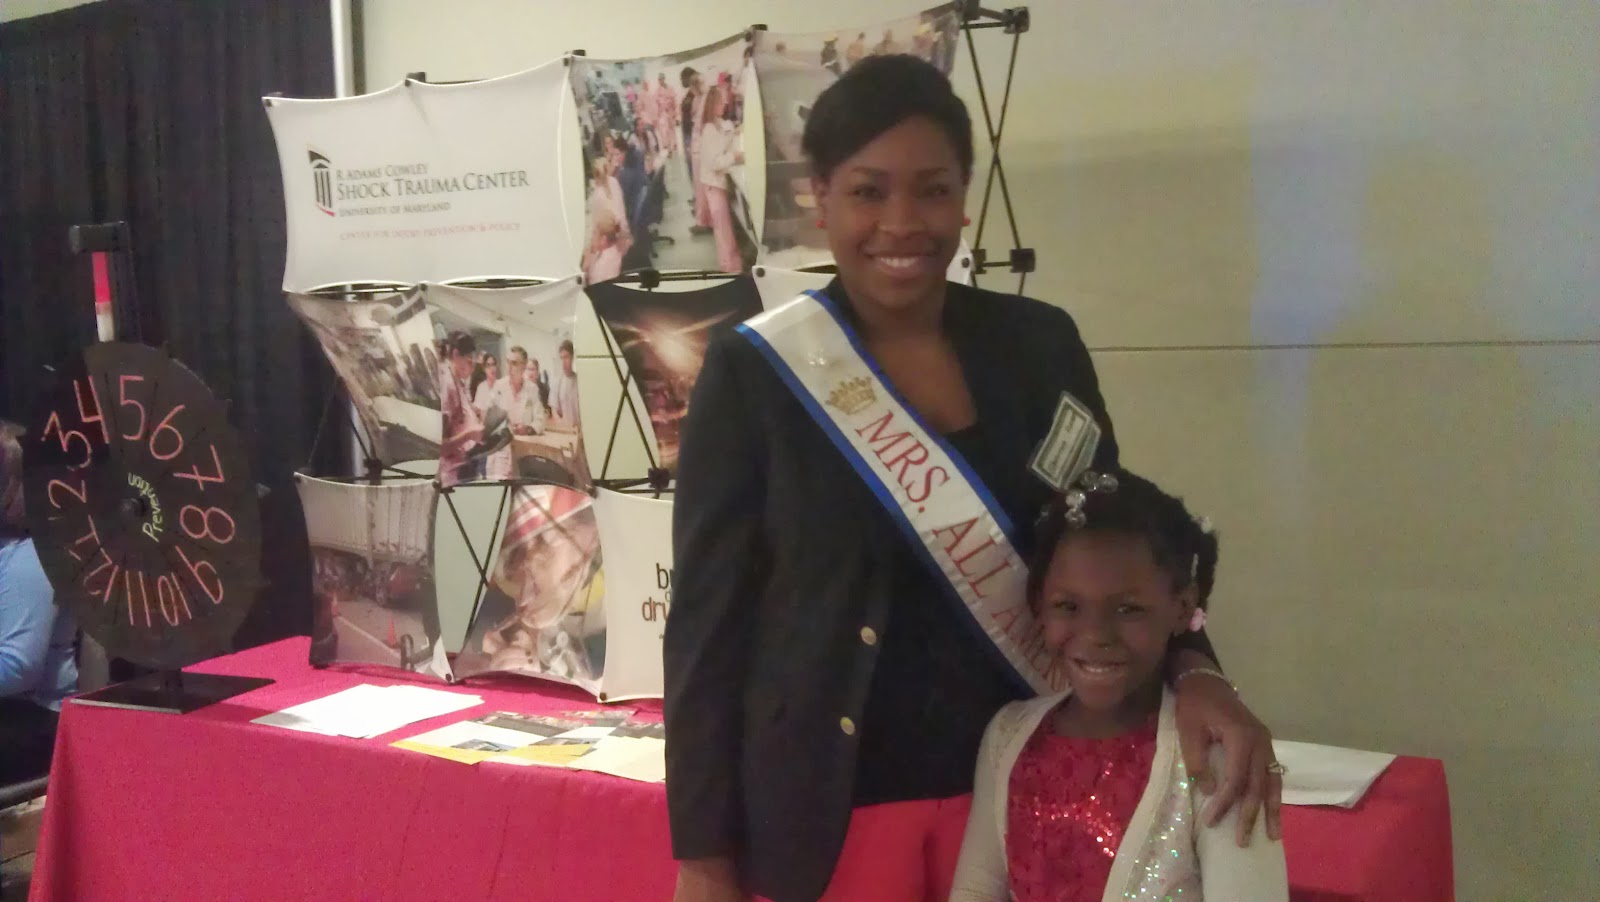
Thursday, March 20, 2014

Monster Mouth Britches

My daughter runs holes in her jeans like it's her job. She has this strange idea in her head that she does not need to change pants when taking her martial arts classes and instead just puts her gi pants on top. as a result I get these jeans worn completely through the knees. I decided to find a few ways to fix these holes rather than tossing them. This is fix number 1: Monster Mouth Britches.


To start this fix you will need:
Jeans worn in both knees (you can do one but I think two look better)
two sewing needles
1 spool transparent thread 
1 spool of upholstery thread
1 strip of colorful fleece the width of your hole. I used 1 inch strips and they do stretch a little.
1 strip of white stiff wool fabric for teeth
buttons for eyes
scissors
pin cushion


First, cut out any loose strands that are in the hole.


Measure your fabric length for the hole. Tip: Fabric stores may give you a sample of fabric for free. Joann's sample size is 1 inch wide. More than enough for this task.


 Turn the jeans inside out and prepare to stitch with transparent thread. I prefer the transparent thread in this project because it is very forgiving to sloppy lines and stitching since holes in jeans can be inconsistent in shape and size.


 after you are finished stitching the fleece to the jeans with your transparent thread turn the jeans right side in and this will be what you see.


 The next part takes a bit of imagination. now you need to form your monster. Use your white firm wool to cut out teeth. They do not have to be perfect.


 Place the teeth inide of the monster's mouth to choose the placement and when you are satisfied sew it in.


 I also chose to secure the long teeth to the bottom of the mouth as well just in case. I have a feeling that the teeth could curl after washing. I'll be sure to update after the first wash.


 I guess he wanted to help. He just knocked all of my buttons off of the table. Shoot!


 Secure your buttons over the mouth. I used the upholstery thread for this. I originally intended to make some Frankenstein like stitches but decided against it.

 Tip: It helps to cuff the jeans to make it easier to secure the buttons.


 This monster is a girl so I made her a bow. Using thread with a knot in the end, pinch a round inch of fabric together and sew through middle to sinch. After it's through the bow, take your needle through the opening before the knot and pull tight. Do it twice for a secure hold. Do not cut the thread. Now, take the needle and sew onto monster's head.  


Sew the ends down so they stay flat.


 And here is your monster!


 Follow the same directions for the other knee if necessary. My second monster only has two teeth and no bow. 


And there you have it, Monster Mouth Britches, Fix #1 for holes in jeans.


Friday, March 14, 2014

Southern Slang Translated

Phaedra Parks- a Southern Belle- lookin sharp honey!
This post has nothing to do with Ms. Phaedra other than being about Southern people. I just think she looks fabulous and she is my favorite celebrity southern belle so I thought I would use the picture. Go on Ms. Phaedra with your bad self!


I may have said this before-maybe not- but I was raised in a military family. As such we never stayed anywhere too long and I don't have a "hometown" persae. I do, however, love and claim Montgomery Alabama as where I am "from" time to time. It was the place we lived the longest growing up (7 years is a long time in military time). I dearly miss my friends, adopted family and the Southern charm of nicesties. Nicesties (plural form of Nicesty-word popularized by singer Michel'le) are comments that seem nice on the surface but are totally nasty underneath. The kind of thing you hear a southern belle say and you immediately thank them but only realize on your way home she was being a total B!+¢#.

If you are unfamiliar with the Southern by personal experience, watch shows like Netflix's "House of Cards". The Southern have a way of delivering the most rude of comments in the prettiest package. I have gathered a few of my favorite "Southern Phrases" for your enjoyment.

1. Bless your heart- Seems sweet right? Wrong. What she is really saying is "You dumb misguided dunce". This seems like a well wish but it really translates to 10% pitty and 90% dumbass.

2. He's too big for his britches- really means he is in over his head or thinks too highly of himself.

3. Off like a herd of turtles- off to a slow start.

4. If brains were leather, s/he wouldn't have enough to saddle a June bug- You're and idiot.

5. I bet you could start an argument in an empty house- you argue too much.

6. She was happy as a dead pig in the sunshine- describes someone who is blissfully ignorant to what will ruin them.

7. Well, ain't that nothin'.- My grandmother used this one. She usually said it mid conversation while someone was bragging about something that she thought was dumb. She usually followed it up with a fake and painful looking smile.

8. Run with the big dogs or stay on the porch- get in, fit in, or get out. Also, probably said to someone who was too big for their britches if they hesitate when it's time to put your money where your mouth is (or back up what you are saying).

9. Why you're as useless as a screen door on a submarine- completely and utterly useless to the task at hand.

10. Her elevator don't go all the way to the top/ She's one fry short of a Happy Meal/ She's got a screw loose- She's nuts.

11. You look like you've been rode hard and hung up wet- You look bad- really bad.

12. That makes about as much sense as tits on a bull- You make no sense

13. She doesn't have a pot to piss in or a window to throw it out of- You're poor

14. Look, I bet she could eat corn through a picket fence- You have buck teeth

15. She was drunk as/drunker than Cooter Brown- This one took some research. Supposedly, Cooter Brown was a man that lived during the Civil War. He lived on or near the Mason-Dixon line and had family on both sides and he didn't want to fight in the Civil war. As a solution he just stayed drunk the entire time so he was deemed "unfit" for battle during the entire war. Whether he was real or not, the phrase stuck.

16. She's so tender faced- My grandfather uses this. Means she's ugly.

17. She’s so ugly she’d make a freight train take a dirt road.- See #16

18. I’ll stomp a mudhole in his @ss and walk it dry.- I'll kick his butt from here to the Mississippi.

19. She wouldn't bust a grape in a fruit fight.- She can't fight or she is a coward. Also used by Jay-Z in 99 Problems.


Now on the other hand there are some things that are said that may sound bad but really are meant with kindness.

1. Your prettier than a pot of collards- What can I say Southern people like good food. If they compare you to good food, your pretty hot stuff.

2. She's finer than frog hair!- Ever see frog hair...that's because it's so fine.


.....yeah, unfortunately I only have two of the nice phrases. Feel free to add any that I forgot in the comments below!


Monday, March 3, 2014

The Faithful-of it.

I may have just a little too much faith in my abilities. I have decided that my new hobby will be sewing. This is something I've wanted to learn for quite sometime but never set aside the time to achieve. I am very excited.

...at the same time I am saying "what were you thinking Shan!". I went gung-ho on this one! I have no basic knowledge of reading patterns, fabric selection...let alone how to run a sewing machine yet I have purchased $65 worth of fabric, 20 patterns (in Burda Magazine-so it was only $14.00) and a sewing machine on ebay.com.  I don't know who told me I could do this but I am going in neck deep here!

Talley Forth!

Sunday, February 9, 2014

Mrs. All American made an apperance at Motor Trend's International Auto Show

I am very excited to say that I made and appearance at Motor Trend's International Auto Show....what? You got that from the title? You are so insightful. Any who, here are the pictures!


Short post, I'm sleepy. GN.

Thursday, January 23, 2014

Pagent Sash Easy DIY

This weekend has been a complete and total whirlwind. I was named Mrs. All-American! I am over the moon right now and can't wait to serve for the next year! The women that I met this weekend were absolutely phenomenal. I am so happy to have been able to meet such great women!

Okay, so on to the DIY project.

Why?
My pageant started on a Thursday night and with it being a weekday, my husband and I decided we did not want our our daughter to miss school for a pageant. What kind of example would I be if I allowed that to happen?! Needless to say she was a bit bummed about not being able to go.

My mother also decided to take time out of her busy schedule to travel and help me get things together. My mom is such a great sound board when it comes to organizing my thoughts.

I thought it would be great if I could give them something to show my appreciation so I came up with personalized sashes!

******Disclaimer******
My photos are not very good. I was attempting to quickly make the sashes while my daughter was at a wrestling seminar. As a result, the photos are not the best.


How?
This was a fairly easy project. Your supplies are as follows:

1. 3'' White Ribbon (if you can find 4''
2. Lighter
3. 3/4'' iron on hemming tape
4. 1'' color ribbon
5. scissors
6. Velcro tabs
7. Iron and Ironing board


Step 1: Cut your wide and two strips of your 3/4 width ribbon based on the length below.

Adult
Teen - 62" long
Standard Adult - 72" long 
Large Adult (height 6'1"-6'4") - 80" long
XL Adult (height over 6'5") -  88" long
Teen
52" long 
Toddler
42” long

Step 2:  melt the edges of the ribbon with the lighter. I do this by running the edge of the ribbon along the blue part of the flame. The white top is too hot and will scorch your ribbon. You just want to melt the ends to seal and prevent fraying.

Step 3: line the underside (not shiny side) of your colored 3/4'' ribbon with the hem tape and iron. Follow directions on the package. My package said to iron each section for 10-12 seconds so I moved the iron very slowly, feeding into the process. Tip: the paper peels better when it's warm so if you find that the paper is sticking to the adhesive run the iron over it again and it will glide off.


Step 4: When finished with Step 3, peel the paper off then set adhesive side down on the edge of the wide ribbon. I like to leave the edge of the ribbon out. I prefer the look. Iron again shinny side up (be aware of heat setting and material using) according to package directions.


Step 5:  Repeat on other side of wide ribbon.


Step 6: Now you want to add your lettering. I chose the iron on black felted lettering (not athletic). Cut your letters out. Tip: make sure to leave a uniformed amount of space at the bottom of each letter so that you can ensure that the letters as you have placed them are as straight as possible. Iron the paper side of each letter and let it cool. Flip the ribbon over and repeat on the other side.


Step 7: Let the letters cool and peel the paper off. This is what you will get.


Step 8: Fold the ends of the sash under and use more iron on tape to secure for a clean edge. Use velcro tabs to keep the ends together. I don't have a picture of this. I used snap closures but I do not suggest this for you. The ribbon is very delicate and my heart stops every time I try to open and close it for fear that it may rip.


This is a very easy project and I hope it turns out well for you too!


Saturday, January 18, 2014

Pageant Crafts: My Fashion Wear Gown & Contestant Gifts

So I am currently at the Mrs. All American National Competitions.....AHHHHHH....This is so exciting. So I promised a while back to post my DIY gown in white. (see previous post) I decided to go with another dress. I do not have pictures of this but it was very simple.

I decided to use a one shoulder black peplum cocktail dress and decided to add a removable tutu skirt. It all started with the sketch.


1. cut ribbon waist length (I made mine a little short to leave it open in the front.
2. sew 6 yards of tulle to one side of the ribbon, 19 yards to the other side. Choose which side looks better and sew 2 yards of organza to the underside.
3. At waist band iron the tulle as flat as you can and sandwich with two more pieces of ribbon for finishing. I left mine long so that I can tie it to anything.
4. Add a broach for detail. I went with peacock feathers...I was a little proud.

This is what I got:


Hopefully, I can get some better pictures. This will be the dress I wear for the Fashion wear portion of the pageant. Big fun!


I have also had to put together a contestant gift which is a small gift that you give to the other ladies as a gesture of good will. The value should not exceed $5 per gift. I went to my local (and fantastic) dollar tree and came up with a box of notions that could be of use during the weekend for the ladies.

I found the tuxedo boxes in the wedding section and filled it with 2 sided fashion tape, 4 straight pins, one Band-Aid, 3 bobby pins, 2 mints and one cough drops. I also included tissues but I wrapped them since they would not fit inside.


Well, I have to run to go to rehearsal right now but I will be back soon with another craft from this weekend!
 
Up Next: DIY Sashes!